Industrial diamond tools can fail prematurely even under routine production conditions, and the root cause is often misidentified as “normal wear.” This article examines five high-frequency failure mechanisms—brazed layer cracking, diamond dulling (passivation), excessive matrix wear, insufficient cooling, and mounting/runout errors—linking each to its technical drivers and on-machine symptoms. Using practical case-style descriptions and recommended infographic callouts to highlight typical damage zones, it clarifies how operating parameters and product design/manufacturing quality jointly determine tool life and machining stability. It also provides actionable prevention methods, including coolant flow and direction control, stable clamping and installation practices, periodic checks of diamond cutting activity, and early inspection routines to catch micro-cracks before catastrophic failure. Finally, it highlights UHD’s value in reducing failure risk at the source through professional manufacturing, customization capability, ISO-aligned quality control, and 24-hour technical support.
Why Do Industrial Diamond Tools Fail So Often? A Practical Diagnosis Beyond “Tool Quality”
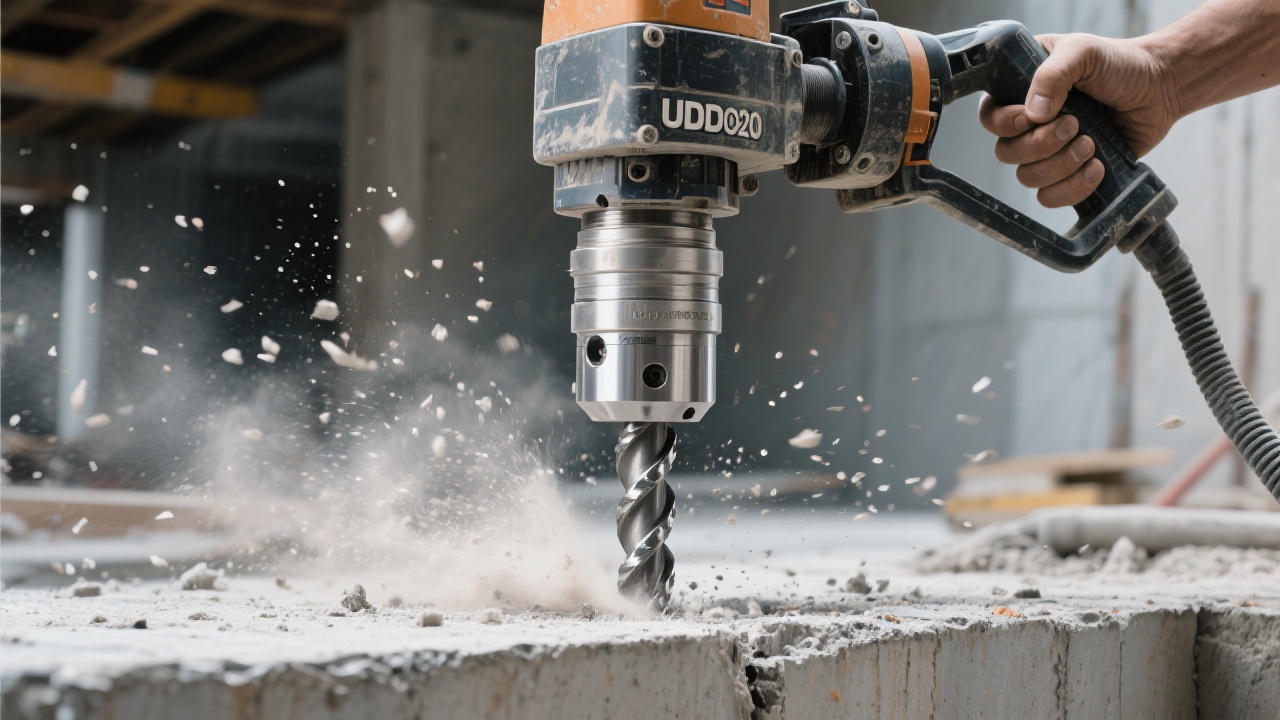
In real production lines—stone machining, construction materials, ceramics, composites, and precision grinding—industrial diamond tools are often expected to deliver stable accuracy while operating under heat, load, and abrasive debris. Yet many failures are still misdiagnosed as “bad diamonds” or “random defects.” In practice, failures typically follow a repeatable pattern: brazed layer cracking, diamond dulling (glazing), matrix/body wear, cooling deficiencies, and installation errors.
This article explains the root causes and the most actionable prevention steps—so engineers and maintenance managers can reduce scrap, stabilize surface quality, and extend tool life with predictable results.
Common Misjudgment in the Workshop
Many teams treat failure as a single-factor problem. However, diamond-tool failure is usually a system issue: tool design + brazing/matrix quality + machine rigidity + coolant delivery + operator setup. When one weak link exists, the tool becomes the “fuse” that breaks first.
The 5 Primary Failure Modes—and What They Usually Mean
Brazed diamond tools rely on a metallurgical bond that must survive cyclic heating and mechanical loading. Cracking typically appears when thermal gradients become steep (localized overheating + fast cooling), or when cutting forces spike due to vibration, misalignment, or aggressive feeds.
What it looks like: sudden loss of segments/particles, micro-cracks around the bond line, “clean break” failures after a short period of stable running.
Typical triggers: insufficient coolant at the contact zone, intermittent contact (bouncing), high runout, or stopping coolant before tool exit.
2) Diamond Dulling / Glazing: The Tool Still Spins, But Stops Cutting
Diamond dulling often gets mislabeled as “diamond is not sharp.” In reality, dulling can be a process mismatch: the diamond is not being exposed at a healthy rate, or the cutting zone is overheating and smearing material across the cutting points.
What it looks like: rising spindle load, burn marks, slower material removal, glossy tool surface, reduced chip formation.
Root causes: low coolant effectiveness, too-low feed (rubbing instead of cutting), incorrect grit/bond selection for the workpiece, or matrix too hard (for bonded tools) resulting in poor self-sharpening.
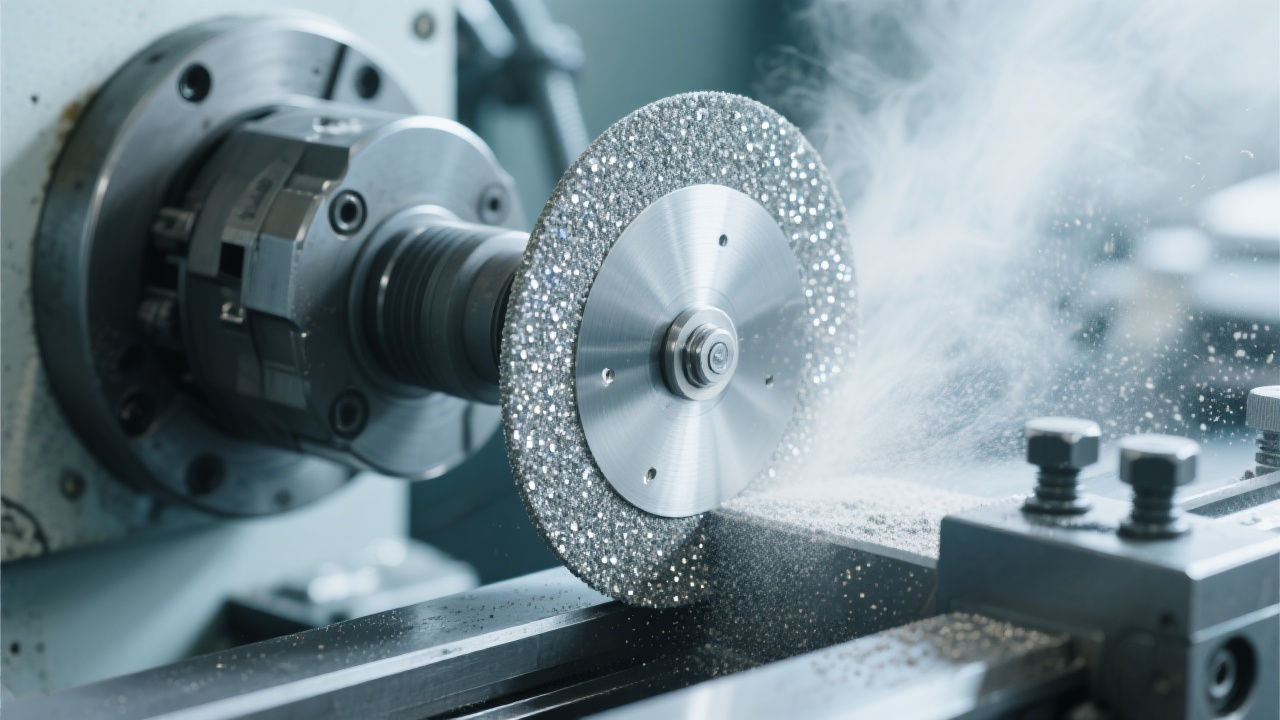
3) Excessive Matrix/Body Wear: Losing Geometry Before End of Life
When the matrix or body wears too quickly, the tool may lose profile, cut out-of-tolerance, or expose diamonds prematurely. This is common in highly abrasive materials or when the bond/matrix selection is too soft for the application.
What it looks like: fast diameter reduction, profile rounding, unstable surface finish, increasing vibration over time as geometry drifts.
Key contributors: high abrasive fillers, poor coolant filtration (recirculated grit), excessive peripheral speed, and wrong bond hardness.
4) Insufficient Cooling: The Hidden Multiplier Behind Most Failures
Cooling issues rarely present as “no coolant.” More often, coolant is present but not reaching the real contact zone with enough flow, pressure, or direction. Poor cooling increases thermal stress (brazed cracks), accelerates glazing (dulling), and amplifies wear (matrix erosion).
Practical indicators: steam at the cut, intermittent squeal, discoloration on workpiece, coolant splashing elsewhere instead of penetrating the interface.
5) Installation & Alignment Errors: Runout Creates Force Spikes
Even a high-quality tool can fail early if clamping and alignment are unstable. Runout, flange contamination, incorrect torque, or worn bearings can turn a stable process into impact loading—one of the fastest routes to chipping and bond damage.
What it looks like: periodic chatter marks, uneven segment wear, localized overheating, repeated failure at similar angular positions.
Fast On-Site Diagnosis: A Technician-Friendly Checklist
Symptom
Most Likely Cause
Quick Verification
First Action
Sudden segment/diamond loss
Brazed layer cracking from thermal shock / force spikes
Check coolant at contact; inspect runout; look for micro-cracks
Stabilize coolant direction + reduce impact; verify clamping
Rising load, burn marks, glossy tool
Diamond dulling / glazing
Observe chips vs. dust; check coolant filtration and feed consistency
Increase effective cooling; adjust feed to restore cutting
“In most recurring failures, the tool is reporting a process imbalance. If the cooling path and mounting stability are proven, then the discussion should move to bond design and material selection—not before.”
— Field note from industrial tooling reliability practice (multi-plant observation)
Prevention Measures That Extend Tool Life (Without Slowing Production)
Optimize Coolant Delivery (Not Just Coolant Volume)
A frequent gap is “adequate flow” that never reaches the interface. Aim to deliver coolant into the contact zone with stable pressure and a clean path. In many lines, upgrading nozzle direction and preventing splash-off yields measurable stability gains.
Position nozzles to penetrate the cut, not the tool housing.
Avoid stopping coolant while the tool is still in contact.
Standardize Mounting & Reduce Runout
Installation discipline often decides whether a tool survives its first shift. Clean flange faces, correct torque, and periodic spindle checks can reduce impact loading that triggers brazed layer cracking and uneven wear.
Measure runout after mounting; re-seat if out of tolerance.
Check bearing condition when periodic chatter appears.
Monitor Diamond “Activity” Before It Becomes Scrap
Diamond tools often give early signals: rising power draw, temperature marks, or changing chip behavior. A simple routine—tracking spindle load and surface finish—helps detect glazing and process drift early.
Record spindle load trends; abrupt increases indicate rubbing or cooling failure.
Inspect chip form (chips vs. dust) to confirm real cutting.
Schedule quick checks after material batch changes.
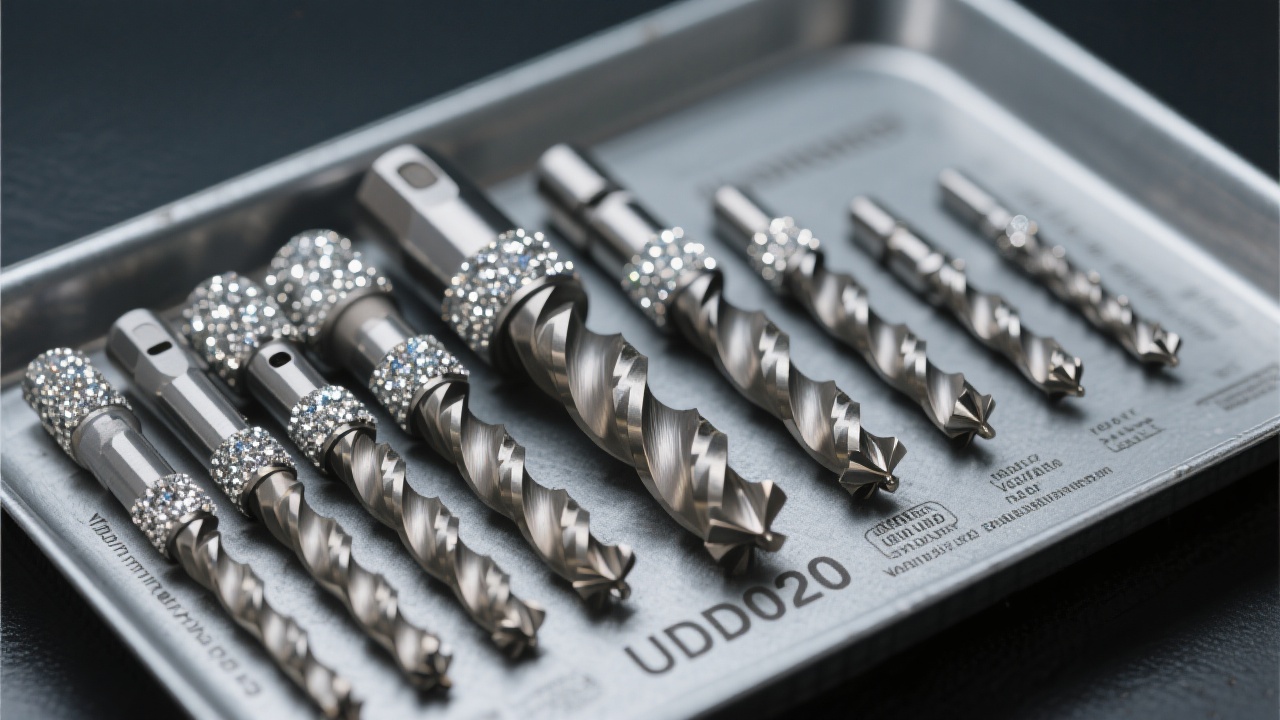
Match Tool Design to the Material and the Machine
When recurring failures persist after cooling and setup are corrected, the remaining lever is engineering: diamond grade, grit size, concentration, bond/matrix hardness, and brazing process stability. This is where consistent manufacturing control matters.
For buyers evaluating suppliers, request process traceability and quality controls around brazing temperature windows, alloy selection, and inspection routines—because preventing failures at the source is often cheaper than troubleshooting them at the line.
Where Product Quality Makes the Biggest Difference
In many failure investigations, two plants can run the same material with similar parameters—yet one sees stable life and the other sees repeated bond-line damage. The difference is often hidden in manufacturing consistency: brazing uniformity, base material selection, and process inspection depth.
Brazing Process Control
Stable brazing quality reduces micro-voids and stress risers that can evolve into cracks under thermal cycling.
Material & Bond Matching
Diamond grade and bond selection should fit the workpiece abrasiveness and machine rigidity—too hard or too soft both shorten life.
Inspection & Traceability
Batch-level inspection and traceability help connect failures to controllable variables, preventing repeat issues.
For teams building a preventive maintenance strategy, consider this rule of thumb: if failures are random, investigate the process; if failures repeat at a similar time and location, investigate setup and design fit.
UHD: Reduce Failure Risk at the Source—Before It Reaches Your Line
UHD supports industrial users who want fewer emergency stoppages and more predictable machining quality. With professional manufacturing capability, customization options aligned to real working conditions, ISO-aligned quality management, and responsive technical support (including 24-hour assistance), the focus is practical: reduce failure risk at the source through correct tool design fit and consistent production control.
Get a Failure-Reduction Recommendation for Your Application
Share your material, machine type, speed/feed, coolant method, and failure photos. Receive a practical suggestion on bond choice, cooling optimization, and mounting checks.


.png?x-oss-process=image/resize,h_1000,m_lfit/format,webp)


.png?x-oss-process=image/resize,h_1000,m_lfit/format,webp)


