Industrial diamond tools often fail prematurely due to brazed layer cracking and excessive matrix wear, leading to unstable removal rates, dimensional drift, and unplanned downtime. This article breaks down five high-frequency failure drivers in real production settings—brazed joint cracking, diamond dulling/passivation, over-worn matrix, insufficient coolant delivery, and mounting/runout errors—linking failure mechanisms to on-machine symptoms and inspection clues. It also translates root-cause analysis into practical prevention actions, including coolant flow and targeting optimization, standardized clamping and alignment procedures, and a recommended cadence for checking diamond cutting activity. The discussion emphasizes that long tool life depends on both design/manufacturing quality and disciplined process control, helping engineers avoid the oversimplified “operator error” assumption. For teams seeking more stable performance, UHD solutions based on advanced brazing technology and 24/7 technical support provide a proven path to reduce failures and improve production consistency.
In industrial grinding and cutting, diamond tools often appear “fine” until output drops, surface quality drifts, or the tool suddenly sheds diamonds. In practice, most failures trace back to a small set of mechanisms—especially braze-layer cracking and matrix (bond) wear—amplified by coolant, setup rigidity, and process parameters. This article breaks down five common failure modes and provides prevention actions that can be implemented on the shop floor within days, not months.
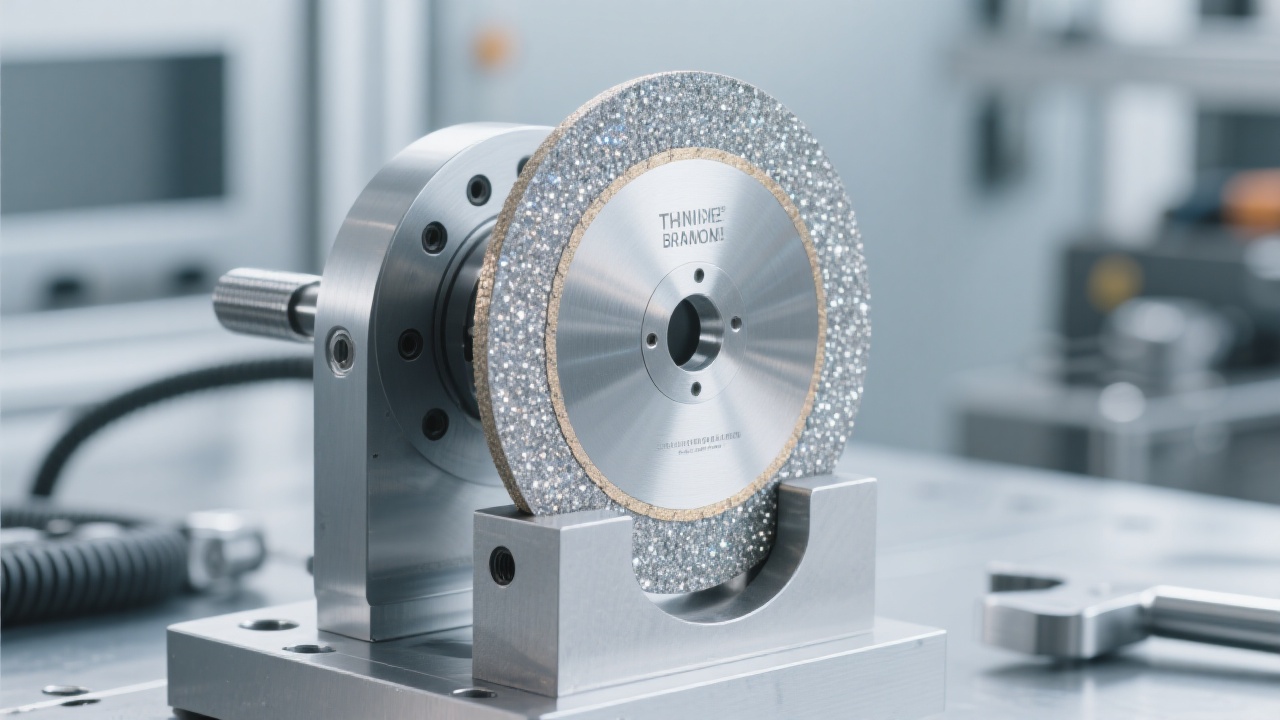
1) Brazing-Layer Cracks: What They Look Like and Why They Happen
A brazed industrial diamond tool depends on a stable metallurgical bond between diamond and substrate. When the brazing layer develops micro-cracks, diamonds can loosen, tilt, or detach. This failure mode typically accelerates after temperature swings, intermittent coolant contact, or high-impact engagement.
Mechanism (simplified)
Repeated cycles of thermal expansion + mechanical shock create local stress at the braze interface. Once cracks initiate, they propagate along the weakest path—often near edges, corners, or spots where diamond exposure is uneven.
Prevention actions that work on the line
Stabilize thermal conditions: avoid “dry-to-wet” switching mid-pass; if coolant is used, ensure consistent contact at entry and exit.
Reduce impact loading: use gentler ramp-in and avoid plunging into full engagement where possible.
Verify coolant targeting: direct flow to the contact zone rather than flooding the guard area.
Inspect braze integrity after abnormal events: any jam, tool drop, or spindle collision warrants a quick magnified check.
2) Diamond Dulling (Glazing): The Silent Efficiency Killer
Diamond does not “wear out” the way conventional abrasives do, but it can become blunt or polished, especially in certain ceramics, engineered stone, and hard alloys. When diamonds dull, the tool starts rubbing instead of cutting—forces rise, heat rises, and other failure modes (like braze cracking or matrix damage) become more likely.
Process signals (practical diagnostics)
Signal
What it often indicates
Quick check
Power/amps drift upward (10–25%)
Dulling or coolant starvation
Compare with baseline at same feed/speed
Burn marks / odor / micro-chips
Rubbing + heat spikes
Inspect edge + verify nozzle direction
Surface finish worsens, chatter appears
Tool not cutting cleanly; runout may contribute
Measure runout; try slight parameter adjustment
Prevention: keep diamonds active, not just present
Schedule “activity checks”: for high-volume lines, review tool cut quality every 1–2 shifts; for mixed batches, every setup change.
Use controlled dressing only when applicable: some operations benefit from light conditioning to re-expose sharp edges; over-dressing wastes tool life.
Avoid over-slow feeds at high RPM: too low chip load encourages polishing rather than micro-fracture cutting.
3) Excessive Matrix Wear: When the Bond Disappears Faster Than Planned
Matrix wear is not automatically “normal wear.” If the bond erodes too quickly, the tool loses profile, stability, and diamond support—leading to uneven cutting and premature retirement. This is common when material abrasiveness is underestimated or when coolant carries aggressive fines that accelerate erosion.
Industry reference (planning numbers)
In continuous production grinding, plants often treat a
15–30% rise in tool consumption rate (compared to last quarter’s baseline) as a trigger to audit coolant filtration, runout, and bond selection—before blaming the operator.
— Aggregated best-practice from multiple high-throughput workshops
Prevention: stabilize wear and protect geometry
Match bond hardness to abrasiveness: more abrasive workpieces typically require a more wear-resistant matrix to maintain diamond support.
Control slurry/fines: improve filtration and housekeeping; suspended fines can act like lapping compound.
Track geometry drift: measure tool diameter/profile at set intervals (e.g., every 4–8 hours in continuous runs) to catch runaway wear early.
4) Insufficient Cooling: The Root Cause Hidden Behind “Random” Failures
Cooling is not only about temperature—it controls friction, flushes chips, and prevents re-cutting. In many audits, the coolant system is present but not effective: misaligned nozzles, low flow at the contact zone, foaming, clogged filters, or incorrect concentration. These issues amplify heat, which increases the probability of brazing-layer cracking, diamond dulling, and matrix softening.
Coolant checklist (implementation-friendly)
Flow verification: confirm actual flow at nozzle, not pump rating; a clogged line can cut effective flow dramatically.
Aim validation: use a short “paper test” or visual tracer to confirm the jet hits the grinding zone.
Filtration discipline: keep differential pressure logs; rising DP often correlates with higher tool wear.
Concentration control: maintain recommended coolant ratio to avoid lubricity loss and corrosion risk.
5) Installation Errors & Runout: Small Misalignment, Big Damage
Even a high-quality diamond tool can fail early if the spindle system introduces vibration or uneven engagement. The most common culprits are excessive runout, poor flange contact, contamination on mating surfaces, incorrect clamping torque, or a damaged adapter. The result is localized overload: one segment does the work of three, the interface heats, and cracks propagate.
Prevention: standardize setup like a process, not a habit
Measure runout at the tool, not only at the spindle: set internal thresholds and record results per setup.
Cleanliness protocol: wipe mating faces; tiny chips trapped at the flange can create a persistent wobble.
Clamp consistency: apply torque uniformly; avoid “over-tightening to be safe,” which can distort components.
Balance awareness: if vibration increases after tool change, check balance and mounting before adjusting parameters.
Where Design Quality Meets Operational Discipline
The most reliable troubleshooting mindset is to treat industrial diamond tool failure as an interaction between tool engineering and process reality. A stable brazing system helps resist thermal shock, but it cannot compensate for a coolant jet that never reaches the cutting zone. Likewise, perfect installation cannot fully protect a tool if diamond activity is allowed to glaze for days.
For teams that need predictable output across shifts and operators, UHD focuses on manufacturing consistency (including ISO-aligned quality control), advanced brazing technology, and practical support that helps plants translate lab-grade tool performance into day-to-day stability—especially when troubleshooting must happen fast, with production still running.
Want a faster root-cause diagnosis for brazed diamond tool failures?
Share your application (workpiece, RPM/feed, coolant setup, and failure photos). UHD’s team can help you pinpoint whether the driver is braze cracking, glazing, matrix mismatch, cooling delivery, or runout—and recommend corrective actions with minimal production disruption, backed by 24/7 technical support.


.png?x-oss-process=image/resize,h_1000,m_lfit/format,webp)


.png?x-oss-process=image/resize,h_1000,m_lfit/format,webp)


