

If you cut stone every day, you already know the “same blade, different stone” myth is expensive. A granite job that runs stable at 3–5 m/min can stall your line when you switch to engineered quartz; a marble slab that looks gentle can chip at the edge if the segment is too aggressive. The fastest way to reduce downtime is to choose diamond cutting tools based on measurable stone properties—hardness, abrasiveness, grain structure—and then match them to segment bond, diamond grit, and core geometry.
This guide is written for stone fabricators, quarry operators, and OEM maintenance teams who want data-driven selection—especially when you’re using (or considering) vacuum-brazed diamond tools from UHD.
The tool doesn’t fail randomly—your stone’s microstructure determines how diamonds wear, how heat builds up, and whether the edge chips. Use the three signals below as your selection compass:
Typical reference: Marble ~3–4, Granite ~6–7, Engineered quartz ~7. Higher hardness often needs a bond that keeps diamonds exposed and cutting, without glazing.
Quartz and some granites behave like sandpaper—diamond is hard, but the matrix and steel core still suffer. Expect faster segment wear and higher heat load; choose tool designs that evacuate swarf efficiently.
Marble is softer but can be brittle at the edge; certain granites have coarse grains that “grab” the segment; engineered quartz can micro-chip if feed is too aggressive. Here, segment geometry and grit size matter as much as bond.
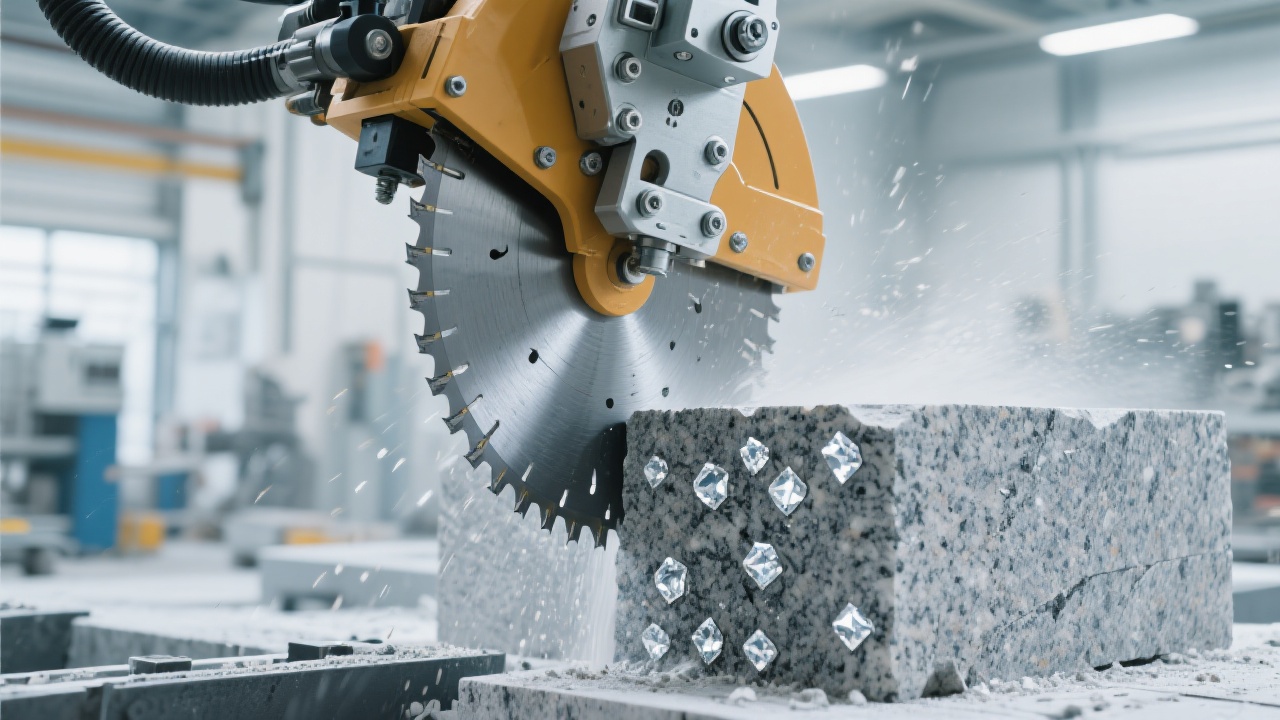
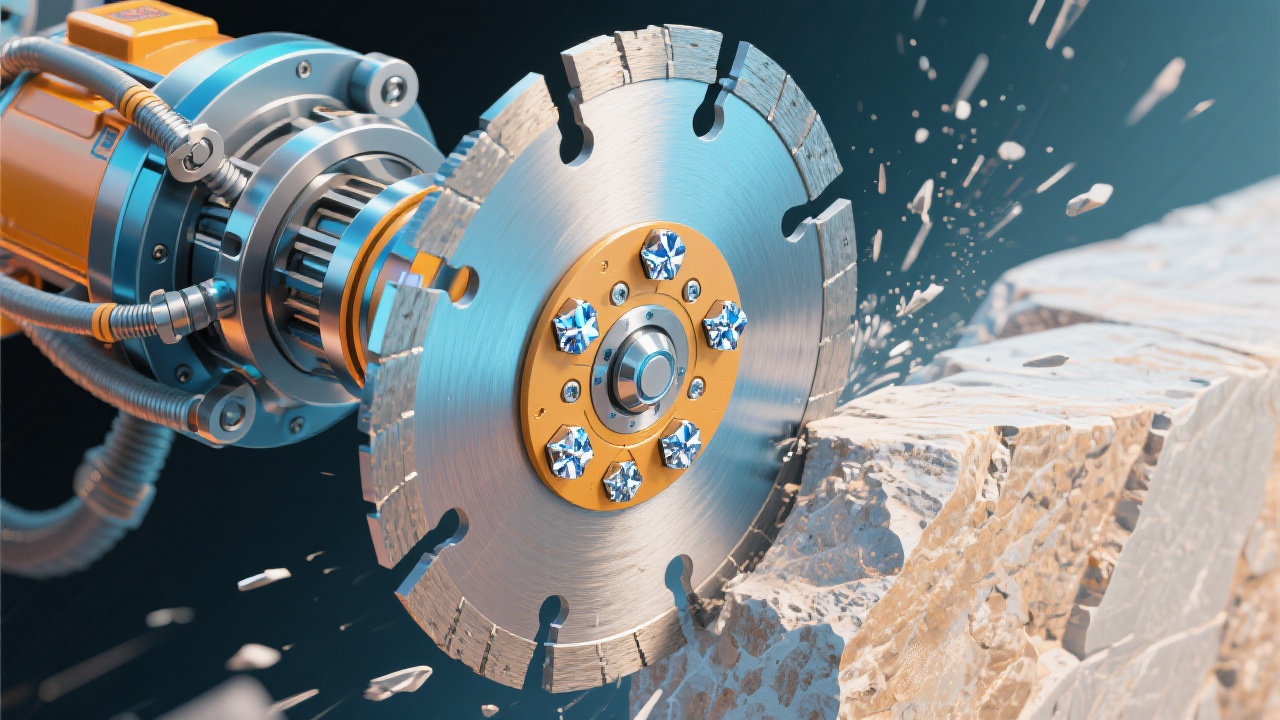
Buyers often compare blades by diameter first. In production, segment composition and geometry decide your real cost per meter—because they control cutting force, heat, and how consistently diamonds renew.
Note: The best configuration still depends on your machine power, spindle RPM, water supply, and whether you cut wet or dry. Treat the table as a fast filter, not a final spec.
When you’re pushing throughput, a tool’s failure mode is rarely “the diamonds wore out.” It’s more often diamond pull-out, micro-fractures, or thermal damage that leads to vibration, edge defects, and emergency blade changes.
Vacuum brazing forms a metallurgical bond that can better resist thermal cycling. In many fabrication setups, the cutting zone can exceed 200–400°C intermittently (especially during dry cuts or restricted water flow). Stronger retention helps keep diamonds working instead of shedding early.
Stable retention supports a more predictable wear curve—less “sharp-then-dead.” For operations targeting steady feed rates, consistency can translate into fewer stops for dressing and fewer edge-quality surprises.
With better control of the diamond layer, the tool is less prone to brittle fracture at the working edge—especially when cutting mixed-grain granite or abrasive engineered quartz where vibration and thermal stress accumulate.
Customer measured feedback: “After switching to vacuum-brazed blades on quartz, our unplanned blade-change stops dropped from about 3–4 per week to 1–2 per week, and the edge chipping rate was visibly lower on long runs.”
In B2B stone processing, “standard” rarely stays standard once you factor in spindle power, arbor size, coolant delivery, and operator habits. UHD typically supports parameter-level matching so your tool fits the system you already run—without forcing you to redesign the workflow.
With these inputs, segment grit, exposure, geometry, and core stiffness can be tuned to reduce rework and stabilize cycle time—often more valuable than chasing peak cutting speed for a single slab type.
The difference between “average” and “excellent” blade life is often maintenance discipline. Below are the habits that most directly reduce heat load, glazing, and core distortion.
For wet cutting, many shops target 6–12 L/min at the blade zone for bridge saw operations (varies by nozzle design). If the stream misses the cutting interface, you still overheat. Check nozzle alignment weekly and filter clogs daily in heavy slurry conditions.
Slurry buildup blocks chip evacuation and raises friction. A quick rinse plus a soft brush at shift end can prevent gradual performance drop that operators often misread as “stone got harder.”
Store blades vertically on proper racks; avoid stacking. Even small impacts can start micro-cracks at the rim, which later show up as vibration and chipping under load.
Consider a fabricator cutting mixed batches: 30 mm granite mornings, 20 mm engineered quartz afternoons. They used a single general-purpose segmented blade to simplify inventory. The result was predictable: good speed on granite, accelerated wear and edge micro-chips on quartz.
In many shops, even a 10–20% improvement in effective uptime is worth more than a small gain in peak cutting speed—because it protects delivery schedules and reduces rework loops.
Share your stone type, thickness, wet/dry cutting mode, and machine RPM/power. UHD can recommend a parameter set (grit, segment geometry, core stiffness, and vacuum-brazed options) aimed at stable cutting and longer service life.
Typical response includes recommended blade type, segment spec, and operating notes to reduce glazing, chipping, and heat-related downtime.


.png?x-oss-process=image/resize,h_1000,m_lfit/format,webp)
.png?x-oss-process=image/resize,h_1000,m_lfit/format,webp)


