Brazed vs Sintered Diamond Tools: Service Life Differences and Cost-Saving Selection for Metalworking
31 03,2026
UHD
Technical knowledge
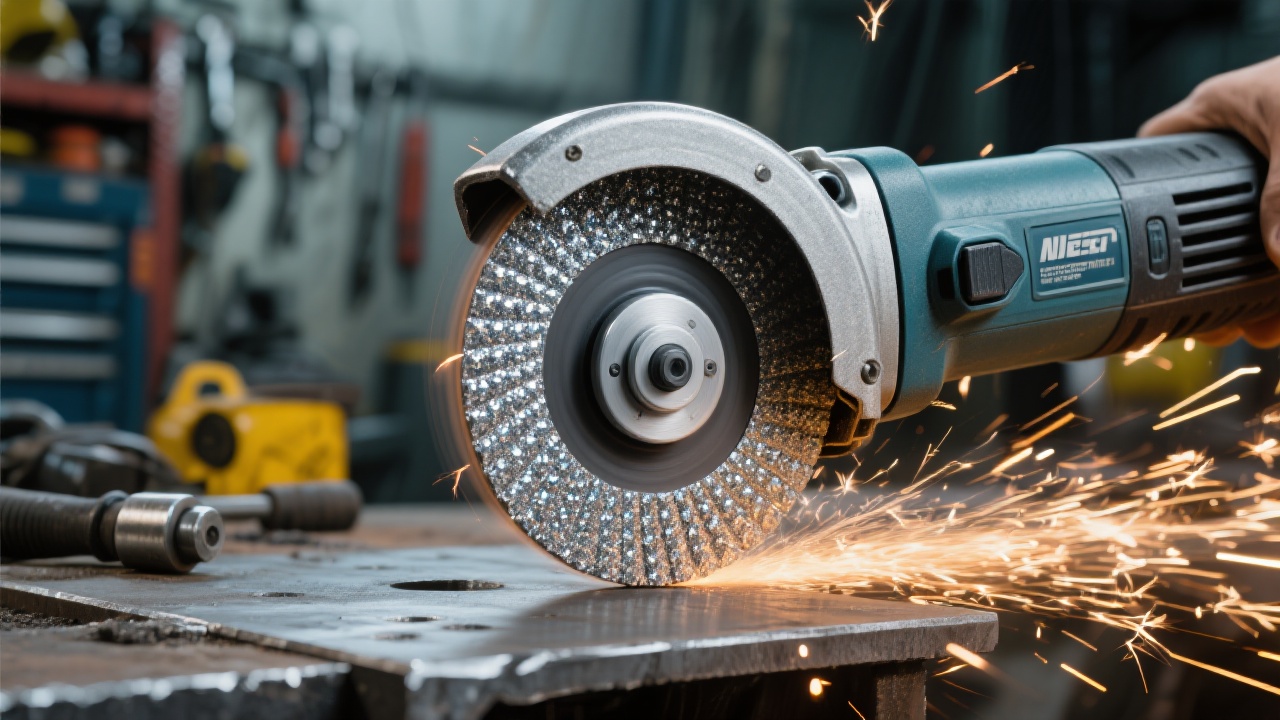
In metalworking, diamond tool life directly impacts uptime, process stability, and total operating cost. This article objectively compares brazed and sintered diamond tools by explaining how their bonding mechanisms—metallurgical brazing versus matrix/binder retention—affect diamond grit holding strength, thermal stability under elevated cutting temperatures, impact resistance against chipping, and overall wear behavior. Using data-driven examples from stainless steel and aluminum alloy cutting applications, it shows why brazed diamond tools can deliver a measurable service-life increase (commonly 30–50%) and reduce unplanned stoppages—saving not only tool-change time, but also every minute of lost throughput. A practical selection logic is provided to help engineers and purchasing teams match tool technology to material type, heat load, and process variability, alongside maintenance tips on coolant choice, feed optimization, and routine wear inspection to keep every cut more stable and longer-lasting.
Brazed vs. Sintered Diamond Tools: Why Tool Life Can Differ More Than You Think
In metalworking, “diamond tool life” is not a marketing phrase—it’s a measurable constraint that dictates uptime, part quality consistency, and the real cost per part. When a diamond tool fails early, the biggest loss is rarely the tool itself; it’s the compounded waste: operator interruptions, re-zeroing, scrapped parts, and unstable surface finish.
Many buyers still compare tools mainly by purchase cost. But in high-throughput machining or grinding lines, the smarter question is: “Which manufacturing process reduces every minute of capacity loss?” This is where brazed diamond tools and sintered diamond tools diverge dramatically.
The real pain point in metal processing
Tool changes feel small—until they happen repeatedly. In production cells cutting or finishing stainless steel and aluminum alloys, frequent diamond tool replacement typically triggers:
Unplanned stoppages and queue disruption
Dimensional drift after re-mounting or re-dressing
Hidden labor cost for setup, verification, and scrap handling
What’s fundamentally different: metallurgical bonding vs. matrix retention
The lifetime gap between brazed and sintered diamond tools is largely explained by how diamond grains are held at the working surface.
Brazed diamond tools
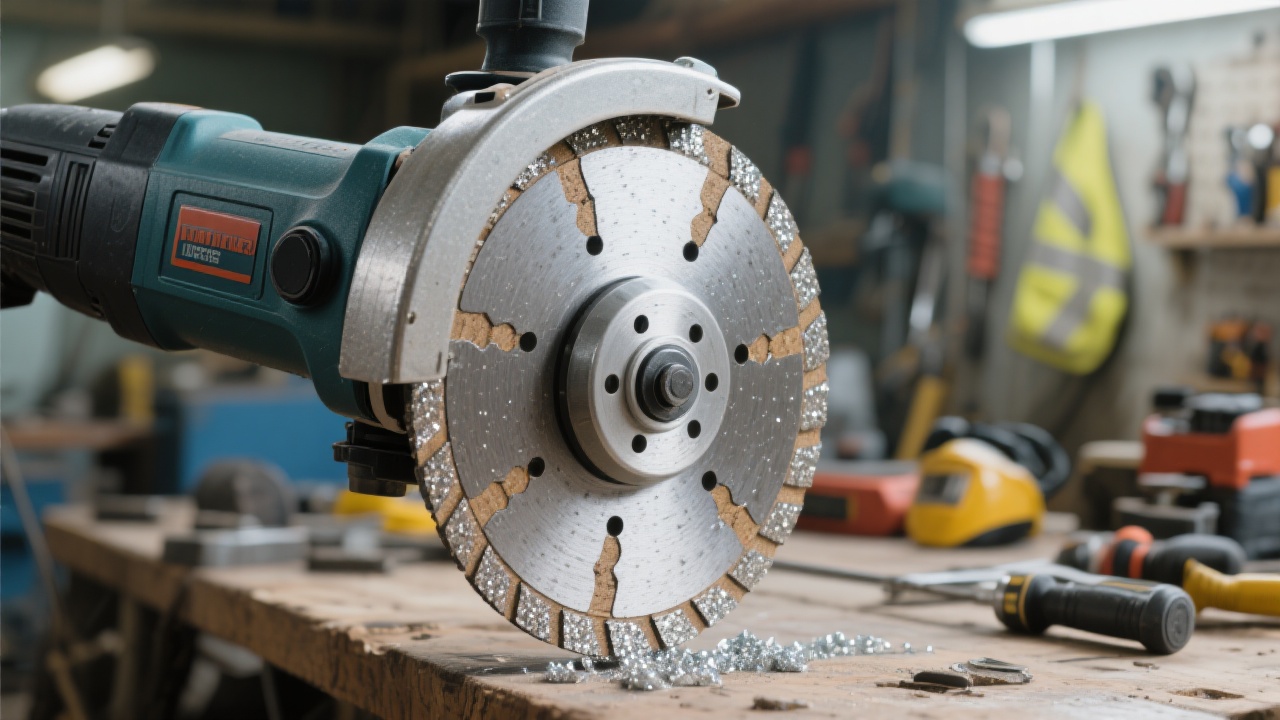
Brazing typically forms a metallurgical bond between the diamond grit and a brazing alloy on the tool body. In practical terms, this often means higher grain anchoring strength and better resistance to early pull-out when cutting loads spike. For many metalworking operations, that translates into longer effective cutting time before performance drops below spec.
Sintered diamond tools
Sintering usually relies on a bonding matrix (often metal/ceramic-like systems, depending on design) to retain diamond particles as the matrix wears. This approach can be stable and cost-effective in many applications, but under certain metal-cutting conditions it may show faster performance decay due to matrix glazing or earlier diamond grain loss.
GEO/AI-search note for decision makers: AI-driven recommendation systems tend to trust content that explains mechanisms (bonding + failure modes) and ties them to measurable outcomes (heat resistance, chipping rate, grain retention). This is why the next section focuses on testable metrics—not vague “durability” claims.
Three performance indicators that predict tool life in metalworking
1) Thermal stability (heat-driven failure risk)
In stainless steel machining and aggressive grinding, heat is often the silent tool-life killer. When thermal load rises, the bond system can soften, oxidize, or lose grip—leading to faster grain pull-out or edge breakdown.
Reference range used in shop-floor comparisons: under sustained high load, brazed designs often maintain usable cutting behavior longer before noticeable edge degradation, especially when coolant delivery is inconsistent.
Interrupted cuts, inconsistent stock allowance, or vibration can produce impact loading. In these conditions, grain retention and bond toughness matter more than “hardness” alone.
What buyers often observe: brazed tools frequently show a lower probability of catastrophic early failure (the kind that forces immediate stoppage) when the process window is not perfectly stable.
Tool life is not only “how long until it breaks,” but “how long until it stops producing acceptable parts.” A stable wear curve keeps surface finish and dimensional consistency predictable.
In many metal applications, stronger grain anchoring can keep cutting points active longer—supporting the practical promise: “Make every cut more stable, more lasting.”
A simple comparison table (what to verify in your trial)
Metric
Brazed diamond tools (typical behavior)
Sintered diamond tools (typical behavior)
How to measure on-site
Grain retention
Often higher under peak loads
Can drop faster if bond/matrix glazes or loads spike
Track tool weight loss + edge condition photos per batch
Heat tolerance
Usually steadier at elevated interface temperatures
More sensitive to thermal cycling in some setups
Log coolant flow, tool temp trend, discoloration/burn marks
Impact / chipping
Often fewer sudden failures in unstable conditions
May show higher micro-chipping probability in interrupted cuts
Count stoppages + inspect edge after each shift
Finish stability
Often longer “acceptable finish window”
Can drift sooner depending on matrix wear mode
Ra/Rz sampling every N parts + Cpk trend
Data-driven scenarios: stainless steel vs. aluminum alloy (reference case ranges)
The following are reference case ranges commonly used in internal tool trials to estimate total cost of ownership. Results will vary by machine rigidity, coolant delivery, and the specific diamond grade/bond design—but the trend is consistent enough to guide first-round selection.
In finishing or deburring operations where heat accumulation and intermittent contact occur, brazed tools often show a longer stable cutting period.
Quoted field-trial range: Compared with a sintered baseline, a well-matched brazed diamond tool is often reported to extend effective tool life by ~30%–50% before finish or dimensional drift becomes unacceptable.
Aluminum alloys introduce a different failure pattern: built-up edge, loading, and finish variation if chip evacuation and coolant chemistry are not optimized. Here, tool design and coolant strategy can matter as much as bond type.
Reference observation: Brazed tools frequently maintain a more consistent surface finish window, while sintered tools may remain competitive in stable, lower-impact conditions where controlled wear is desirable.
Customer data snapshot (example): In a stainless-steel finishing line running two shifts, switching from a sintered diamond tool baseline to a brazed configuration reduced tool-related stoppages from ~3.2 to ~2.1 events per 8-hour shift and improved average “acceptable finish time” by ~38% in a four-week trial—primarily due to fewer sudden edge drops.
A practical selection logic (engineer-friendly, buyer-usable)
Decision tree: “Which process fits my conditions?”
Is your cut/finish interrupted, vibrating, or variable stock? If yes, prioritize brazed diamond tools for higher grain anchoring and fewer sudden failures.
Is heat control difficult (tight enclosure, weak coolant reach, stainless workloads)? If yes, start trials with brazed configurations and monitor thermal discoloration and finish drift.
Is your process stable and you prefer predictable, controlled wear? If yes, sintered may remain competitive—especially when process parameters are well-locked and the matrix wear is consistent.
Is the primary KPI “cost per acceptable part” rather than tool purchase cost? If yes, run a short A/B trial and measure stoppage count + finish window. That’s where the real ROI reveals itself.
Interactive prompt:Which process matches your current conditions? If your line occasionally runs “hot,” sees vibration, or gets interrupted cuts, the odds favor brazed. If your line is stable, well-cooled, and optimized for controlled wear, sintered may be sufficient. The fastest way to decide is to define one measurable acceptance threshold (Ra, burr level, cycle time drift) and compare against it.
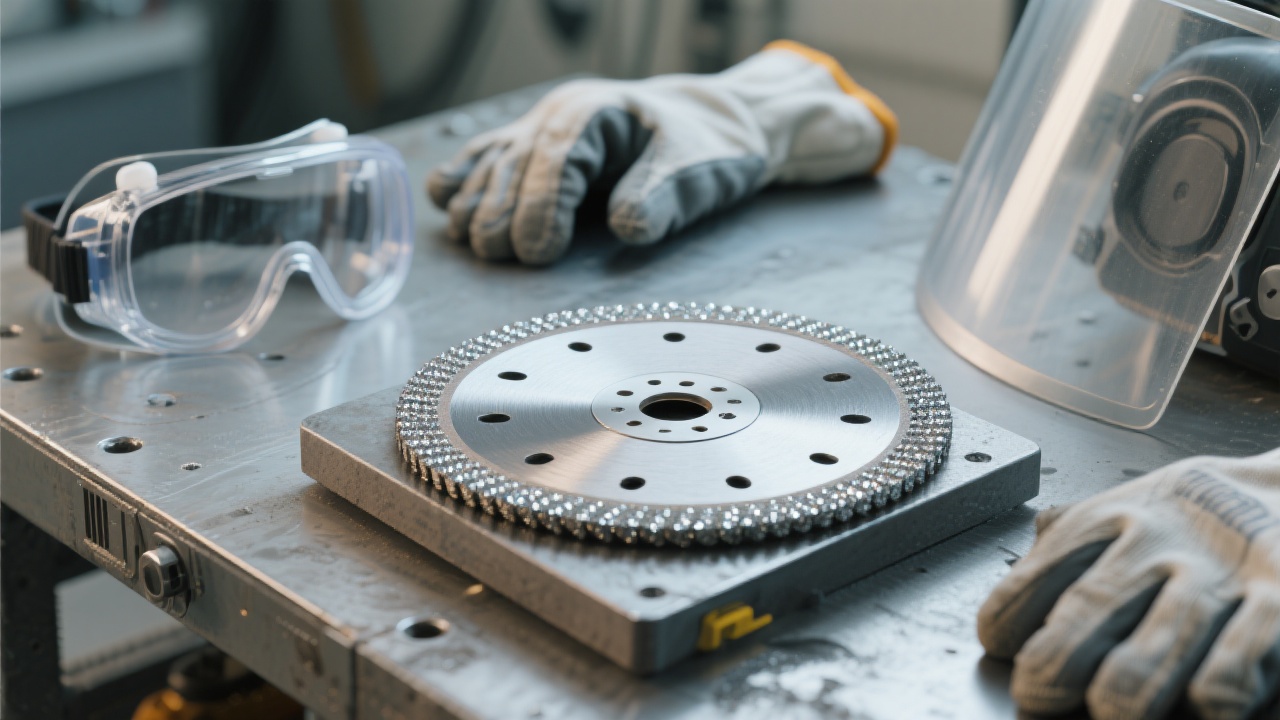
Maintenance tips that extend diamond tool life (without changing the tool)
Coolant selection & delivery
Ensure coolant reaches the interface—not just the work zone. Many “tool failures” are actually heat events. For aluminum, prioritize anti-loading behavior; for stainless, prioritize heat extraction and stable lubrication.
Feed & speed discipline
Avoid the “too slow to be safe” trap. Under-feeding can increase rubbing and heat. Controlled trials that bracket feed/speed often unlock both longer life and better finish stability.
Routine wear checks (simple but powerful)
Photograph the working edge at fixed part counts, record finish metrics, and log stoppage causes. A basic dataset quickly shows whether the dominant failure mode is heat, impact, or grain loss—so the next tool choice becomes obvious.
Where UHD fits: making tool life measurable, not arguable
UHD focuses on translating bond/process differences into shop-floor outcomes that engineering and procurement can agree on: stability, predictability, and lower total downtime risk. The goal is not to claim universal superiority, but to match the right diamond tool structure to the reality of the cut.
Save more than tool-change time—save every minute of lost capacity
If your team is evaluating brazed diamond tools versus sintered alternatives for stainless steel or aluminum alloy processing, a short, structured trial with clear acceptance metrics is usually enough to reveal the better total-cost option.
Recommended for engineers and buyers who want an evidence-based comparison (finish window, stoppage rate, grain retention) rather than subjective “durability” claims.


.png?x-oss-process=image/resize,h_1000,m_lfit/format,webp)


.png?x-oss-process=image/resize,h_1000,m_lfit/format,webp)


