Brazed Diamond Saw Blades for Hard Material Cutting: UHD Blade Selection and Field Techniques
10 03,2026
UHD
Technical knowledge
This article explains the fundamentals and common challenges of cutting hard materials, with a practical focus on UHD brazed diamond saw blades used for concrete, stone, and ceramic applications. It clarifies how brazed diamond technology works, why it delivers strong cutting performance and stability, and what trade-offs operators should expect in real jobsite conditions. Material-specific guidance shows how concrete hardness and aggregates, stone density and abrasiveness, and ceramic brittleness influence blade choice, setup parameters, and cutting strategy. The article also provides actionable techniques—correct installation and inspection steps, speed and feed control, vibration reduction, and heat management—to improve cut quality, extend blade life, and strengthen operational safety. Real-world case examples highlight typical failure modes such as glazing, chipping, and segment damage, along with proven troubleshooting methods. A user self-check list and quick knowledge quiz are included to support training and standardize best practices, and readers are invited to download the full UHD cutting tips handbook and join a professional technical discussion group for ongoing updates.
Hard Material Cutting 101: How to Choose and Use a Brazed Diamond Blade (Without Burning It Up)
Cutting concrete, stone, and ceramics looks straightforward until the blade starts glazing, the saw chatters, edges chip, or segments pop off. This guide breaks down the fundamentals of hard material cutting and the practical setup details that separate clean, fast cuts from expensive downtime. The focus is on UHD brazed diamond saw blades—how they work, when they outperform sintered blades, and how operators can match blade parameters to material behavior for better accuracy, productivity, and safety.
1) The Real Challenges in Hard Material Cutting (And Why They Happen)
Hard materials fail in different ways under a blade: concrete is abrasive and heterogeneous, stone varies by density and quartz content, while ceramics are brittle and chip easily. Most job-site “blade problems” are actually system problems—mismatch between blade bond/diamond exposure, cutting speed, cooling, and machine stability.
Common symptoms
Slow cutting / “polished” rim (glazing)
Excessive vibration or wandering cuts
Overheating, blue marks, odor, micro-cracks
Chipping on tile/ceramic edges
Premature wear or segment damage
Root causes (high-frequency)
Blade type not matched to material hardness/abrasiveness
Incorrect RPM (peripheral speed out of range)
Insufficient cooling or airflow (thermal overload)
Loose flanges, worn arbor, bent blade, misalignment
Feeding too hard or “stalling” during plunge
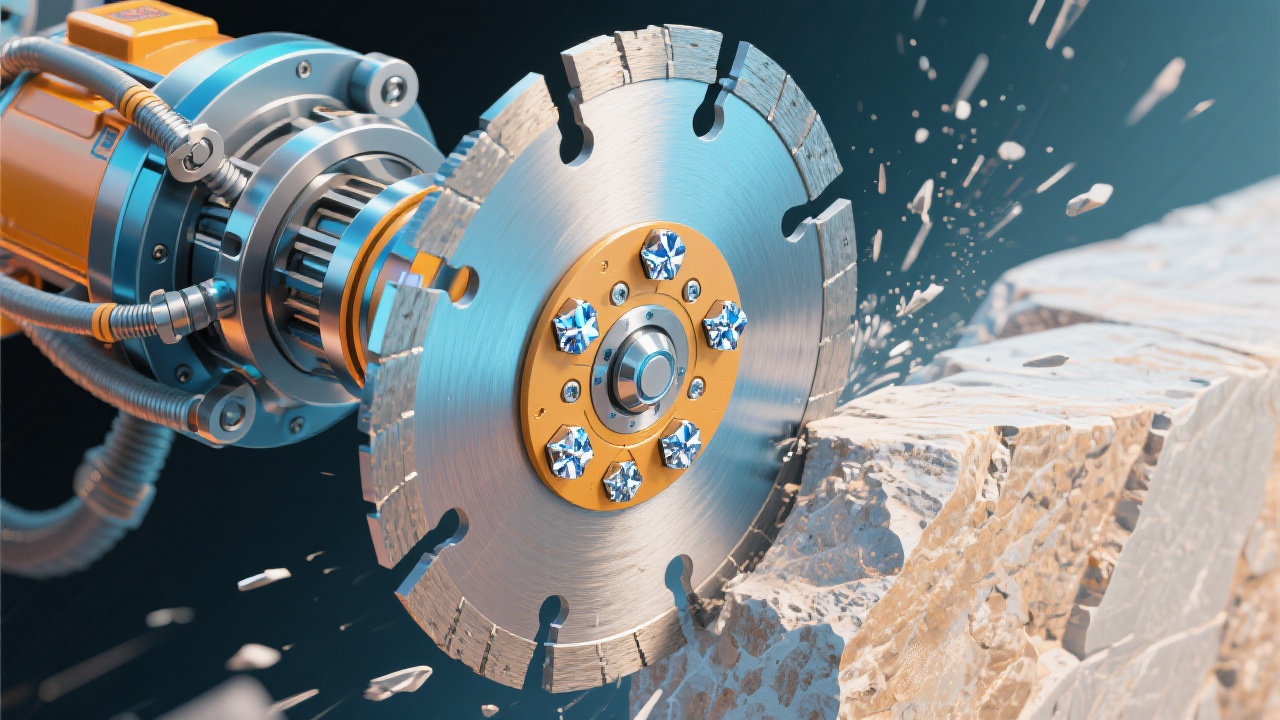
2) How Brazed Diamond Blades Work (And Why UHD Focuses on Them)
A brazed diamond blade uses a high-strength brazing alloy to bond diamond grit directly to the steel core or segment surface. Compared with many sintered options, brazed designs typically offer more exposed diamond at the cutting edge, which can improve initial sharpness and cutting speed—especially where quick penetration matters.
Key advantages in practical work
Fast bite & stable tracking: Higher diamond exposure can reduce “skating” on dense surfaces when the operator starts the cut correctly.
Efficient chip evacuation: Open cutting faces can clear debris better, lowering heat in many common use cases.
Cleaner edges (when matched): With the right rim/segment design, chipping on ceramics and brittle stone can be reduced.
Predictable performance: Many operators find brazed blades easier to “read” on-site—sound, feel, and temperature changes show up earlier.
Note: brazed blades still require disciplined cooling and speed control. Overheating can weaken the brazed interface and shorten service life.
3) Matching Blade to Material: Concrete vs. Stone vs. Ceramic
Material “hardness” is only half the story. The other half is abrasiveness and internal structure. A blade that screams through dense granite may wear rapidly in green concrete, while a blade that eats abrasive concrete can chip porcelain if the rim is too aggressive. For reliable results, operators should match blade design and operating parameters to each material’s cutting behavior.
Material
Main risk
Recommended blade direction
Setup priorities
Concrete (reinforced / cured)
Abrasive dust + steel rebar shock load
Brazed blade with strong heat management; segment design that clears slurry/dust
Control feed pressure; manage cooling; ensure stable saw and straight tracking
Natural stone (granite/marble/quartz stone)
Thermal cracks, slow cutting on dense/quartz-rich stone
Brazed blade for faster bite; choose rim/segment to balance speed and finish
Avoid dry overheating; stabilize vibration; keep consistent RPM
Ceramic / porcelain tile
Edge chipping, micro-fracture propagation
Fine-cut brazed option / continuous rim focus for cleaner edges
Practical benchmark (field reference): a well-matched diamond blade setup commonly improves cutting speed by 15–35% and reduces chipping rework by 20–40%, depending on operator consistency and machine stability.
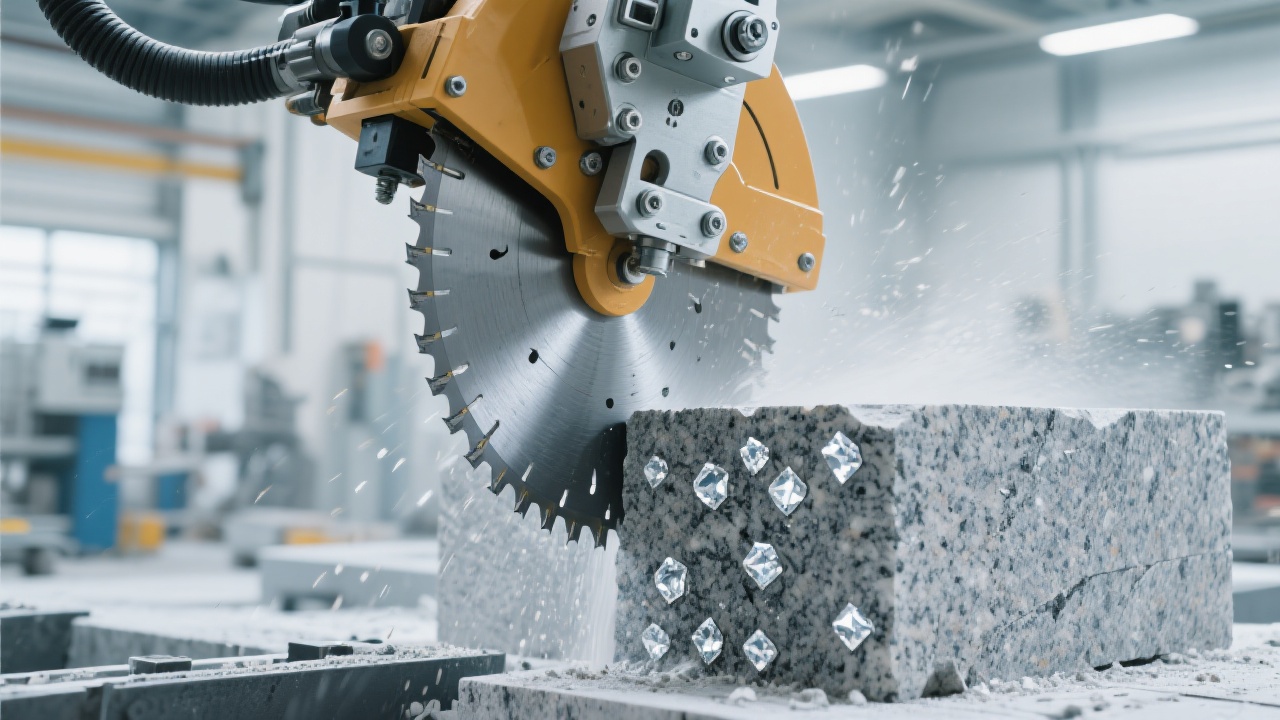
4) Application Playbooks: Best-Fit Parameters by Scenario
Concrete cutting (site work)
Concrete is abrasive and inconsistent—aggregates, voids, and rebar all change the load instantly. A UHD brazed diamond blade performs best when the operator avoids “forcing” the cut and keeps the blade clearing dust efficiently.
Cooling: wet cutting is recommended; for dry cutting, use short duty cycles (e.g., 20–40 seconds cut, 10–20 seconds idle spin).
Rebar behavior: reduce feed pressure as the blade contacts steel to prevent shock and segment stress.
Stone cutting (fabrication & installation)
Stone performance depends heavily on composition. Quartz-rich materials cut “hard” and heat quickly; marble is softer but can burn and smear if the blade runs too hot.
Finish control: choose a rim/segment geometry aligned with the required edge quality (speed vs. surface finish).
Thermal discipline: maintain steady coolant flow; avoid stopping the blade inside the kerf.
Vibration: if the cut marks show periodic waves, check flange flatness and arbor runout first.
Ceramic/porcelain cutting (chip-free priority)
With ceramics, the goal is to reduce micro-fracture at the edge. Aggressive feed and vibration are the main enemies—more than raw hardness.
Entry technique: start with a shallow scoring pass, then deepen gradually for cleaner edges.
Support: fully support the tile near the cut line to avoid flex-induced cracks.
Cooling: wet cutting typically yields noticeably less chipping on dense porcelain.
Lockout power and verify guard integrity before handling the blade.
Confirm arbor size and flange compatibility; mismatched arbors cause runout and chatter.
Clean flange faces (dust/swarf creates uneven clamping and vibration).
Mount in the correct rotation direction (follow arrow marks on the blade).
Tighten to tool spec—over-tightening can distort the core; under-tightening slips.
Test run at no load for 30–60 seconds; stop if wobble/noise is abnormal.
Vibration suppression: what to check first (fast diagnostic order)
In real jobs, vibration is rarely “just the blade.” Use this sequence to avoid chasing symptoms:
Flange flatness and cleanliness (most common, fastest fix).
Arbor runout or worn bearings (wobble increases kerf friction and heat).
Blade core condition (bent, overheated, or damaged by side-loading).
Material support (slab/tile movement creates chatter instantly).
Feed technique (too much pressure amplifies oscillation).
Cooling & heat management (the blade-life multiplier)
Overheating is a silent killer: it accelerates core warping, increases vibration, and can weaken the brazed interface. In field observations, improving cooling consistency alone can extend usable blade life by 25–60% in continuous cutting tasks.
Wet cutting: maintain continuous flow that reaches the cutting zone (not just “spraying the guard”).
Dry cutting: use intermittent cuts and allow free-spinning cooldown; keep dust extraction strong where required.
Never twist in the kerf: side-loading spikes temperature and risks segment damage.
6) Real-World Case Notes: What Successful Crews Do Differently
Case A: Sidewalk concrete + rebar (municipal repair)
Crew reported overheating and slow progress after switching to thicker slabs. Adjustment focused on cut strategy, not “more power.”
Changed from full-depth plunge to 3-pass step cutting.
Reduced feed when rebar contact was detected.
Added structured dry duty cycle (cut/rest).
Typical outcome: steadier RPM and a noticeable drop in discoloration; productivity gains commonly reported in the 15–25% range on similar jobs.
Case B: Porcelain tile trims (interior fit-out)
Installer experienced edge chipping on premium porcelain. Root cause was a combination of vibration + aggressive entry.
Replaced worn flange and improved tile support near the cut line.
Introduced scoring pass before full-depth cutting.
Switched to wet cutting for temperature stability.
Typical outcome: cleaner edges and less rework; chip-related rejects can drop by 20–40% with consistent technique.
Common problem → practical fix
Problem
Likely cause
Operator-level fix
Blade polishes and slows (glazing)
Too little abrasive action / low feed / wrong match
Increase controlled feed slightly; use short dressing cuts on abrasive block; verify RPM stability
Burn marks / odor
Insufficient cooling or long continuous cut
Switch to wet cutting; enforce cut/rest duty cycle; check airflow and debris clearing
Chipping on tile edges
Vibration + aggressive entry + poor support
Score first; support fully; reduce feed; verify flanges and arbor runout
Wavy cut line / chatter
Loose mount, dirty flanges, bearing wear
Clean/tighten correctly; replace worn flanges; inspect bearings before blaming the blade
7) Content for Different Users: Who Should Focus on What?
Prioritize process control: runout measurement, duty cycle design, tool maintenance logs, standard work instructions.
8) Self-Check: 60-Second Pre-Cut Inspection
Blade rotation direction confirmed and guard installed correctly
Flanges clean, seated flat, tightened to spec
No visible blade warp, cracks, or abnormal wobble at test run
Material fully supported; cut line marked; workspace cleared
Cooling method decided (wet preferred when allowed); duty cycle planned if dry
PPE ready: eye/face protection, hearing protection, respirator for silica dust where applicable
Quick quiz (for crews and training)
Q: If a cut starts straight but begins to wander after 20–30 seconds, what should be checked first?
Show answer
Check flange cleanliness/flatness and arbor runout first. Heat and vibration build over time; mounting issues often reveal themselves after the blade warms and the kerf friction increases.
9) Keeping the Guide Current: A Practical Update Mechanism
Cutting performance changes with new construction mixes, engineered stone formulations, and evolving safety standards. A practical way to keep this knowledge actionable is to update the cutting playbook quarterly using three inputs: (1) job feedback (material + tool + outcome), (2) blade wear photos and failure notes, and (3) machine maintenance logs. This creates a field-based dataset that helps teams standardize the best settings for each material category.
Teams that formalize this loop often reduce “mystery blade failures” and rework because the same cutting conditions are replicated rather than guessed.
Get the UHD Brazed Diamond Blade Field Handbook (Free Download)
Want the full parameter cheat-sheets (by material), step-cut templates, troubleshooting flowcharts, and a printable pre-cut checklist for crews? Download the handbook and join the technical user group for ongoing jobsite tips and new material updates.


.png?x-oss-process=image/resize,h_1000,m_lfit/format,webp)


.png?x-oss-process=image/resize,h_1000,m_lfit/format,webp)


